Objective
Enable a new customer to log in, view their organisation, place orders, and pay for them.
A successful onboarding requires several steps to be completed:
| Step | Required |
|---|---|
| Create organisation | optional (recommended) |
| Create team(s) | ✔ |
| Add users | ✔ |
| Configure permissions | ✔ |
| Billing setup (card or credits) | optional (recommended) |
Some additional steps may be necessary depending on your platform configuration, these will be highlights where they are relevant
Create a new organisation
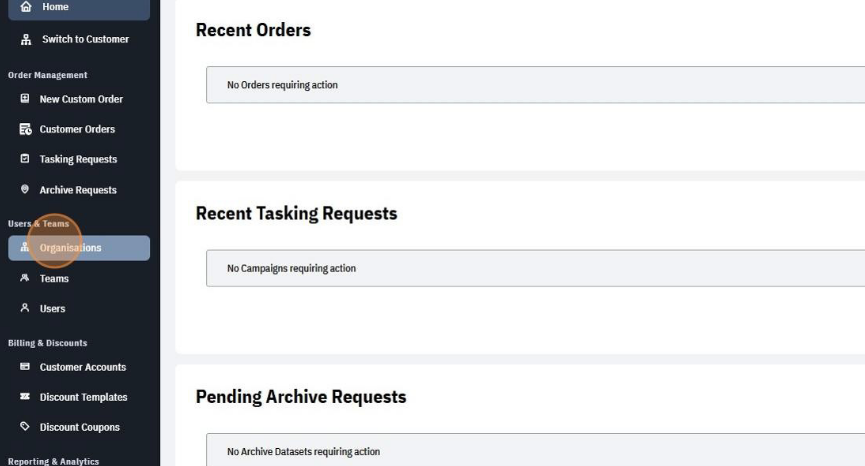
- Navigate to User & Teams > Organisations on the sidebar:
i.e. https://<your domain>/admin/subjects/organisations
- Select Create Org
- A popup will prompt input for the organisation’s name, it is recommended to use the organisation’s legal entity name.
- Select Create
Viewing an organisation
- Navigate to User & Teams > Organisations on the sidebar:
i.e. https://<your domain>/admin/subjects/organisations - For an organisation you want to view, select the View button next to it on the list.

- From here you can review the organisation, any size restrictions on it, as well as its managers, members, teams and API accounts.
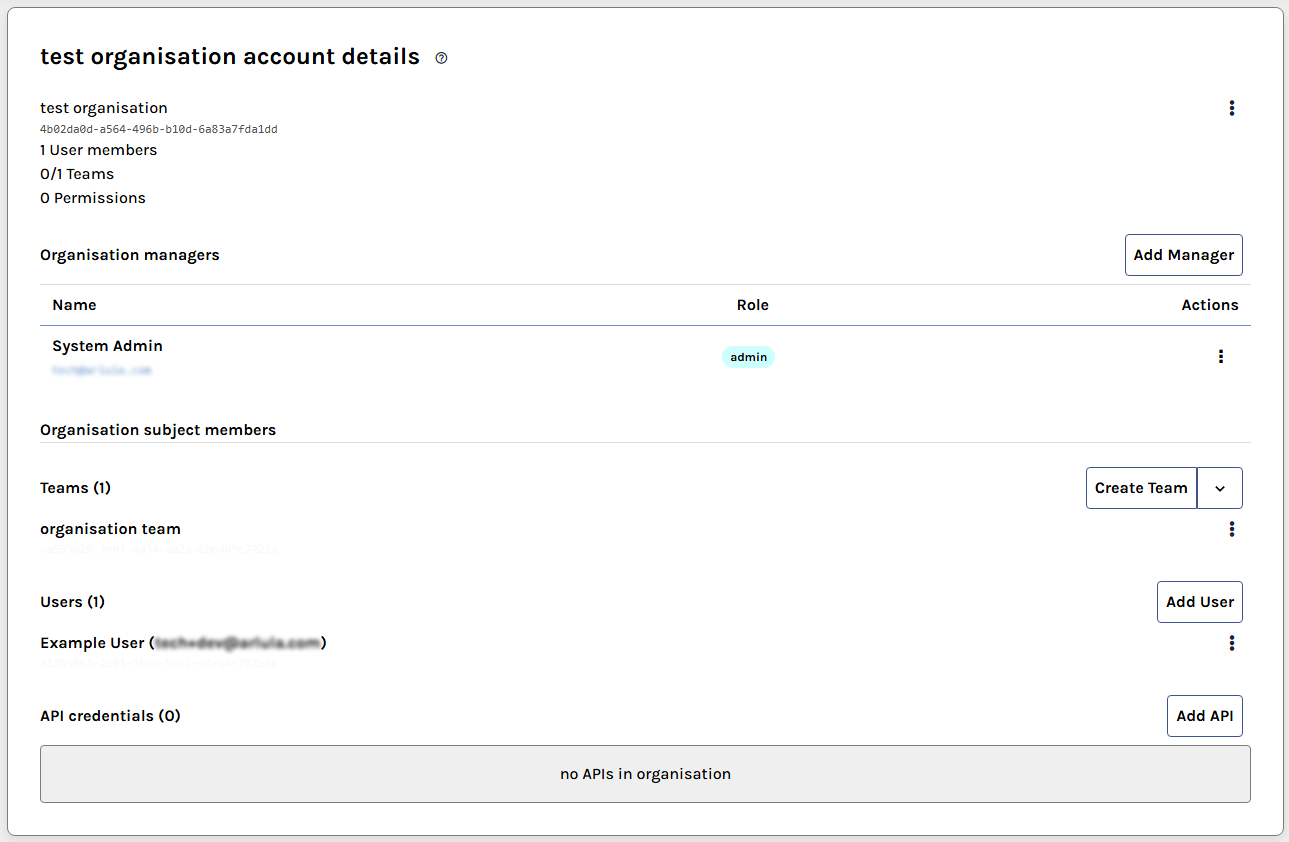
- Each of these subgroups can be administered in their respective section, and its details, constraint properties and billing group configurations can all be managed from the vertical ellipsis (⋮) in the top right.
Creating a team
Teams can be created as independent groups, or as part of an organisation.
If a previously created team later becomes part of, or leaves an organisation, then the team’s associated organisations can be changed.
Users can also create their own teams once onboarded, but it is recommended to set up some initial teams when onboarding new customers to help them get established quickly.
Creating an independent team
- Navigate to the User & Teams > Teams on the sidebar :
i.e. https://<your domain>/admin/subjects/teams - Click Create Team in the top right of the screen
- Name the new team
- Click “Create”
The team will now appear in the list in User & Teams > Teams. To manage the individual members and constraints of the team, click the “View” button next to the desired team on the list.
Creating a team within an organisation
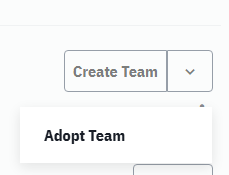
- Navigate toUsers & Teams > Organisations and click “View” on the relevant organisation
- Select Create Team if creating a new team, or Adopt Team in the dropdown menu to attach an existing team
- Name the team (e.g.: “Customer A – {Department/Project}”), or provide the existing team’s ID
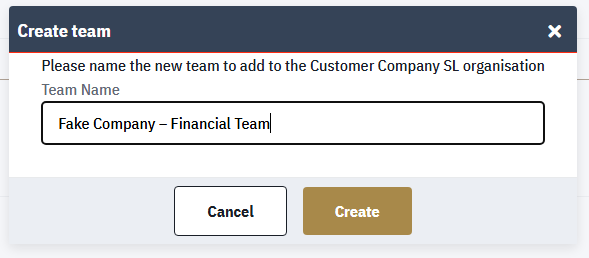
- The newly added team will then appear within the organisation for management.
- The team membership and constraints can then be managed by visiting the team details page by clicking view under the vertical ellipsis (⋮) for that specific team.
- if in the future you need to remove the team from the organisation, this option can also be found under the vertical ellipsis (⋮) for that specific team.
Creating a user
Users can sign up to the platform using your signup/registration page
i.e. https://<your domain>/register
Once they sign up, you can administer them as normal.
However, if you wish to manually set up their account and invite them to the platform, follow the directions below.
Creating a user to invite to the platform
- Navigate to the User & Teams > Users on the sidebar:
i.e. https://<your domain>/admin/subjects/users - Click Invite User in the top right of the screen
- You’ll be prompted to provide the users display name, and a contact email address.
- If you wish for this user to immediately be invited to the platform, make sure to check the “Send notification invite email”. However if you want to make additional configurations to the user before sending an invite, leave this box unchecked.
- Click Invite
- The user will then appear in your users list with an “(Invitation Pending)” annotation, which will be removed when they activate their account. Note: the invitation links are time limited for security reasons, if you wish to resend a fresh invitation link, that is covered below.
Batch importing groups of users
If you have an existing record of users to import available as a CSV, you can add all the users in a single process.
- Navigate to the User & Teams > Users on the sidebar:
i.e. https://<your domain>/admin/subjects/users - Click the down arrow beside “Invite User” in the top right and click Batch Import
- You’ll be presented with the CSV batch user import form.
- Either click the “drop your csv here” button and select your file, or drag it over that region and drop it.
- the “Name” and “Email” fields will populate based on your content, allowing you to select which column contains users names and emails respectively.
- Once you’ve specified the correct fields, click Import
- The user will then appear in your users list with an “(Invitation Pending)” annotation, which will be removed when they activate their account.
Note: the invitation links are time limited for security reasons, if you wish to resend a fresh invitation link, that is covered below.
Re/Sending user invitation links
If a User was set up without sending an invite notification, this can be done after the fact.
- Navigate to the User & Teams > Users on the sidebar
- If they were created recently, you’ll find a “ConfirmURL” property in their user metadata if you wish to manage it manually.
Otherwise, click the vertical ellipsis (⋮) in the top right corner and select Resend Confirmation.
This will prompt a confirmation modal, click Send to send a fresh invitation or signup confirmation email (if the user signed up independently)
Adding a new user to a team and/or organisation
- Navigate to the User & Teams > Organisations on the sidebar:
i.e. https://<your domain>/admin/subjects/organisations - Click View for the organisation you wish to add the user to
- In the users section, click the Add User button.
- Provide the user’s ID or email address and click Add
- If at a later date you need to remove them from the organisation, click the vertical ellipsis (⋮) beside the user and click “Remove from org”.
Billing Accounts
Billing accounts represent a payment method and/or credit balance within your platform that a user may use to purchase data.
At this time, administrators cannot create billing accounts as a step to mitigate accidental PCI-DSS compliance failures.
Once customers have created a billing account, the balance and other non PCI related details can be managed and updated.
Updating customer credit balance
- Navigate to Billing & Discounts > Customer Accounts on the sidebar.
- Locate the account you wish to update and click Details
- Click the Update Balance button in the bottom right
- Set the balance to the total necessary
Note: this sets the balance, if you are adding balance to an existing account, ensure the amount you enter is their existing balance PLUS the new balance. - Their account balance will have been updated, allowing them to draw down on those credits when using this billing account, rather than charging any attached payment method (Unless the order price exceeds the amount of credits on the account, then any attached payment method will be charged the remainder of the price, if a payment source is available).
Managing User Signup’s & Customer Screening
For most platform configurations, users are able to sign up and create accounts themselves.
Depending on your platform configuration, these users may have restricted levels of access until they have been screen through your Restricted Party Screening (RPS) or Know Your Customer (KYC) process.
In this scenario, the list of users on the platform can be seen from the management section under User & Teams > Users on the sidebar:
i.e. https://<your domain>/admin/subjects/users
From here, users who have not been screened will have a “Requires Screening” badge to the right of their name.
Clicking “view” on the right hand side will take you to their account details and the “Screen User” button clicked.
Within this screening page;
If the user does not pass RPS requirements and you wish to prevent them future access, the “Reject & Ban” button can be clicked to ban the user. Their account will still exist, but not be able to be used, preventing future signup with the same address.
If you wish to permit the user however;
any necessary RPS tokens and contract identifiers can be recorded for the specific supplier(s) that need them, as well as setting the users pricing group and roles, if they are features used by your platform.
Once happy with their setup, clicking “Screen User” will record the details to their account and mark them as screened.
These details can be updated if required in the future, by returning to the users details page and clicking the vertical ellipsis in the top right, to select “Edit Screening” and return to this page.
Common mistakes & FAQ
User did not receive their invite/signup confirmation email
There are a few ways this may happen:
- Is it located in the users spam/junk folder
- Check the user account details, did they use the correct email address?
- If not you can update this by clicking Update Details in the vertical ellipsis in the user management page for the user
- If the details seem correct, attempt to resend the email from the admin dashboard by clicking Resend Confirmation from the vertical ellipsis menu of the user details page
User cannot see any results in the browser
Firstly, check the search parameters they are using and confirm that results should be available for that query (i.e. query suppliers have been configured, order levels have been configured, no constraints are applied to query parameters, etc).
If that is not the issue, this most commonly happens on platforms that have a screening process configured, or have no default payment method (tacitly creating a screening process).
If so, navigate to the users details page in your administrative dashboard and check:
- Have they been screened? (if not a “Screen User” button will be visible) and if not, screen them.
- Have they been assigned a pricing group or role? (will show as a set of badges above the “account details section”) and if not, they can be edited from the vertical ellipsis menu in the top right (titled “edit Pricing”)
If none of these are true, check the analytics event log for their search and check for any errors or failures and contact support.
The customer account shows no balance
Please check the following:
- Does the user have a billing account?
- Does any of those billing account(s) have a credit balance?
- Does the user have the “Owner” or “Charge” permission to that payment method (without which they are not authorized to use the balance and it will not be considered)
If you are experiencing further issues not covered in this section, please contact support.