Objective
Create a bespoke order arrangement when a standard tasking or archive order does not meet customer requirements.
Custom Orders can be used when:
- A sale has already been made outside the platform
- SLA, product or pricing structure differs from what is presented in the platform
- Value added services not offered through the platform by default need to be included in an order
- Customer needs commercial approval, or a quotation process before ordering
Create a new Custom Order
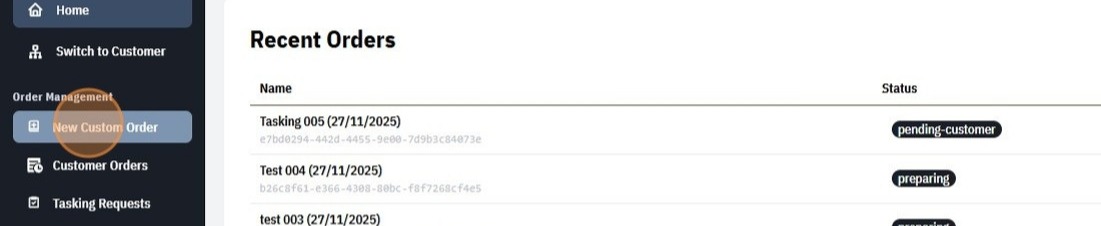
- Navigate to Order Management > New Custom Order on the sidebar.
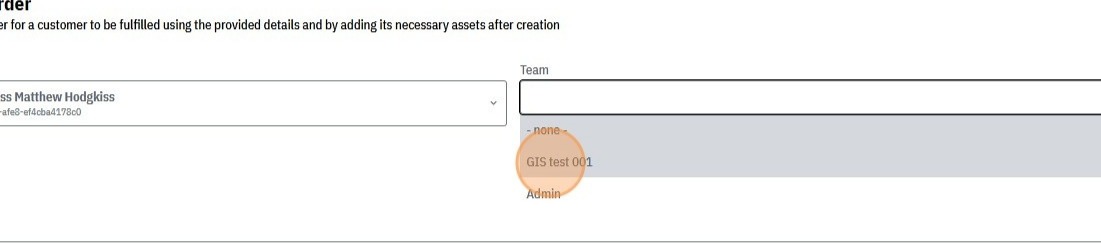
- In the Customer field select the customer and optionally in the Team field the team that the order will be associated with.
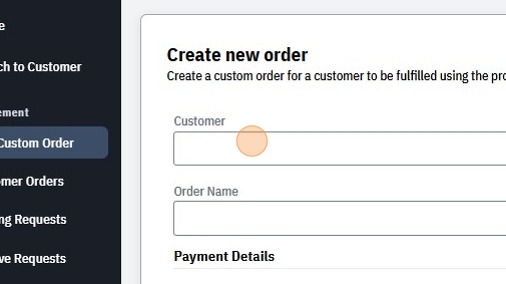
- Enter Order Name (use structured format, see recommendations below)
- Under Payment Details > Payment Mode, a dropdown can be opened to select the billing mode for the order. Below are the available modes:
- acceptance will bill the customer when they accept the custom order proposal or if an admin changes the status of the order passed the proposal stage.
- completion will bill when the order transitions to a complete state at the end of fulfillment
- external will not attempt to bill, but will allow invoicing/receipting information to be added from some external payment process
- none will not attempt to bill or record financial details
- Optionally (Only if billing mode is set to acceptance or completion) choose the payment method from the customer’s available methods, or leave it as “- none -” to allow the user to specify on acceptance. Note: If the customer does not have an existing payment method, “- none -” will be the only available option and the user will be prompted to provide a payment method at acceptance if the billing mode is not external or none.
- Select Create Order
- This will open the details page for the newly created custom order, on this page relevant line items can be added to the order such as tasking campaigns, archive datasets or custom items.
By default the status for the order is set to “Preparing”.
Naming guidance
For clarity, we recommend a structured naming convention that will be clear to your customers.
For single supplier deployments:
{Customer A} – {Location or Project Name} – {Time Period / Cadence}
For multi-supplier consortiums and reseller deployments:
{Supplier} – {Scene or Location or Project Name} – {Time Period / Cadence}
Examples:
- Customer A – Port Operations – 2026 Monitoring
- Customer B – Pipeline Corridor – Q1 Surveillance
Add a Tasking Campaign to the Custom Order
Once the order is created, it has no AOIs or scheduling activities until campaigns are added.
To add a tasking campaign from the order details page.
- Check the order is in edit mode. If you see Edit Order in the top right, click that
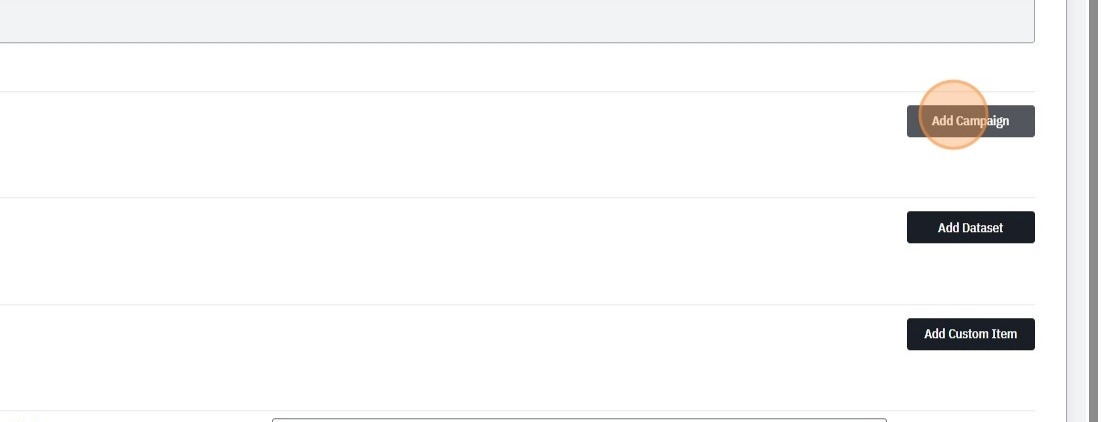
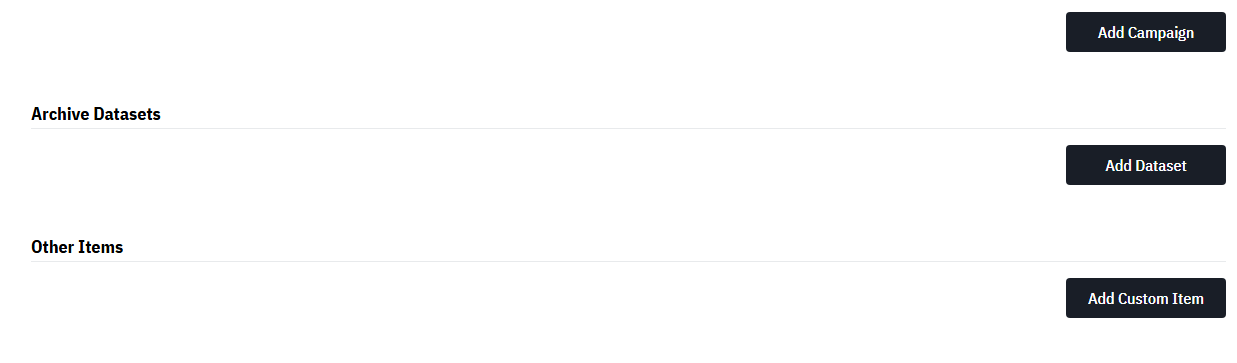
- Select Add Campaign
- Enter the Campaign Name as a display name for yourself and the customer (structured naming recommended)
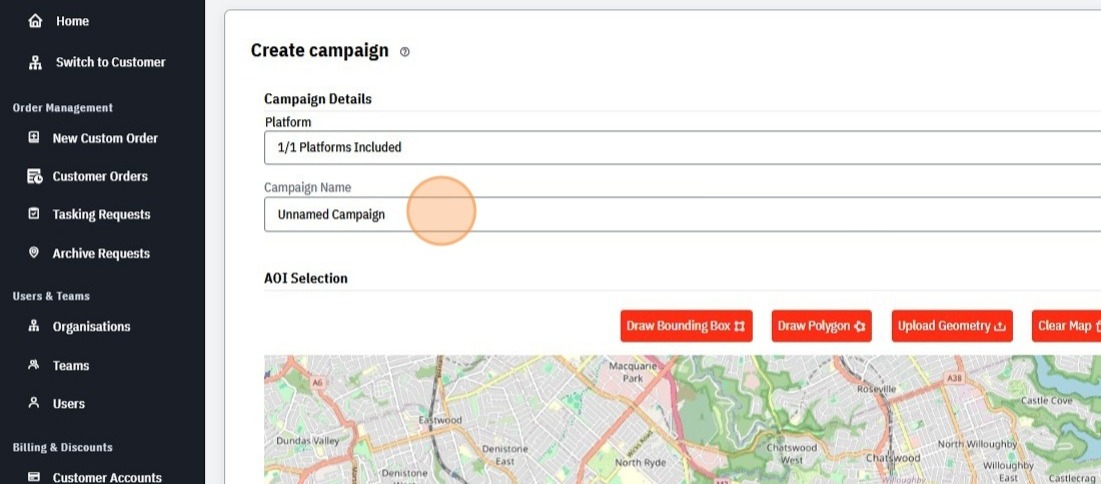
- Specify the area of interest/capture area for the campaign using the map and draw controls, either use
- Draw Bounding Box to draw a compass aligned, rectangular area,
- Draw Polygon to draw in a polygon by vertex, or
- Upload Geometry to open a geometry file and load the area of interest (geojson, kml, kmz and wkt currently supported),
- Clear Map will remove any geometry from the map, as will drawing/selecting any new geometry.

Warning
As this is an administrator tool, it does not attempt to enforce any minimum ordering behaviors, be aware of this if your planning and scheduling system has hard requirements of a minimum swath or area.
Similarly be aware that any area based pricing below will also be subject to the area of the specified geometry.
- Specify the acceptable capture window as a start and end date and time (if relevant)
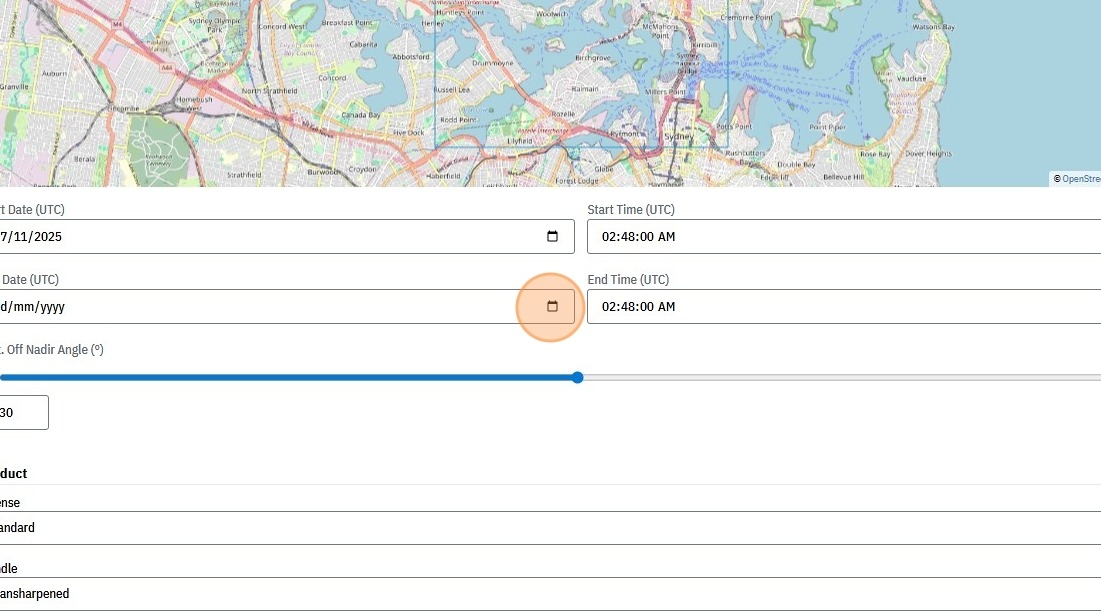
Warning
Campaigns cannot be scheduled after the end date. Ensure windows are wide enough to allow weather/operational tolerance.
Based on your platform configuration and available capture platforms, additional options may be present to specify, such as
- acceptable suppliers (if consortium or reseller deployment)
- acceptable capture platforms (this may appear with the campaign name, depending on your configuration, particularly if platforms are mutually exclusive in capabilities)
- acceptable off nadir maximum or range (depending on capture platform capabilities)
- acceptable azimuth ranges (depending on capture platform capabilities)
Select the pricing details for the order such as the product level, license, priority and cloud coverage guarantee level
- options can be selected from those visible on the platform, as well as any custom order only options specified in your platform
- if enabled for your platform, custom options can be added for a given order
- based on the specification, the total price will be calculated
Specify any tax amount or discounts that apply to this order to adjust the billing total
Select Create Campaign
The Custom Order now contains the new campaign, additional campaigns or archive datasets can be added to build out the quote proposal as needed before requesting customer approval.
Multiple Campaigns
You may add multiple campaigns under one order if the customer requires, common setups include:
| Scenario | Example |
|---|---|
| Multi-AOI | Three mining sites in different regions |
| Multi-phase program | Q1, Q2, Q3, Q4 capture cycles |
| Mixed cadences | Weekly over Port Area + Monthly over Hinterland |
Each campaign has its own area of interest, capture window, capture constraints (such as platform, view angles, etc), and capture schedule.
Add an Archive Dataset to the Custom Order
To add an Archive Dataset from the order details page.
- Check the order is in edit mode. If you see Edit Order in the top right, click that
- Select Add Dataset
- Enter Dataset Name as a display name for yourself and the customer (structured naming recommended)
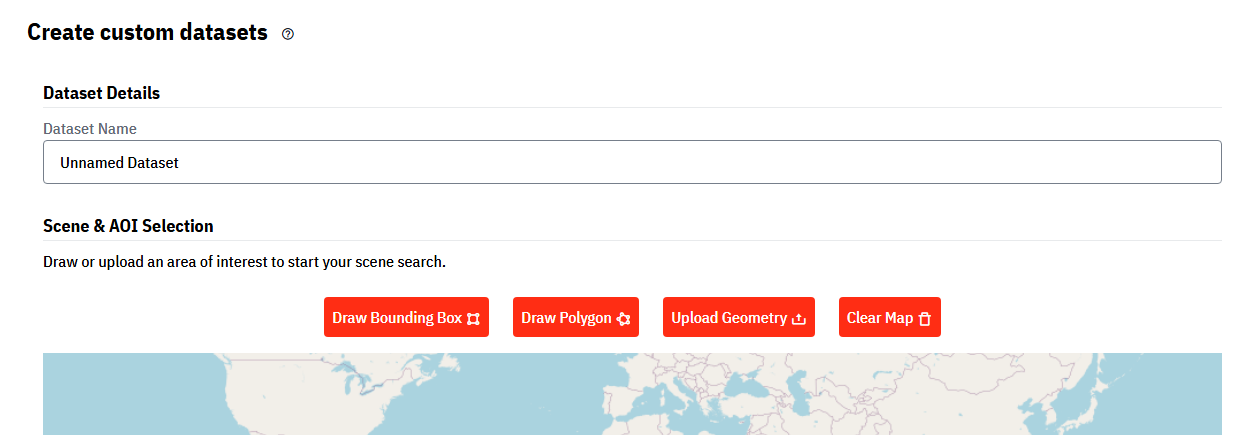
Specify the area of interest that is the footprint to be ordered. You can specify the AOI using the map tools and drawing controls,
- Draw Bounding Box to draw a compass aligned, rectangular area,
- Draw Polygon to draw in a polygon by vertex, or
- Upload Geometry to open a geometry file and load the area of interest (geojson, kml, kmz and wkt currently supported),
- Clear Map will remove any geometry from the map, as will drawing/selecting any new geometry.
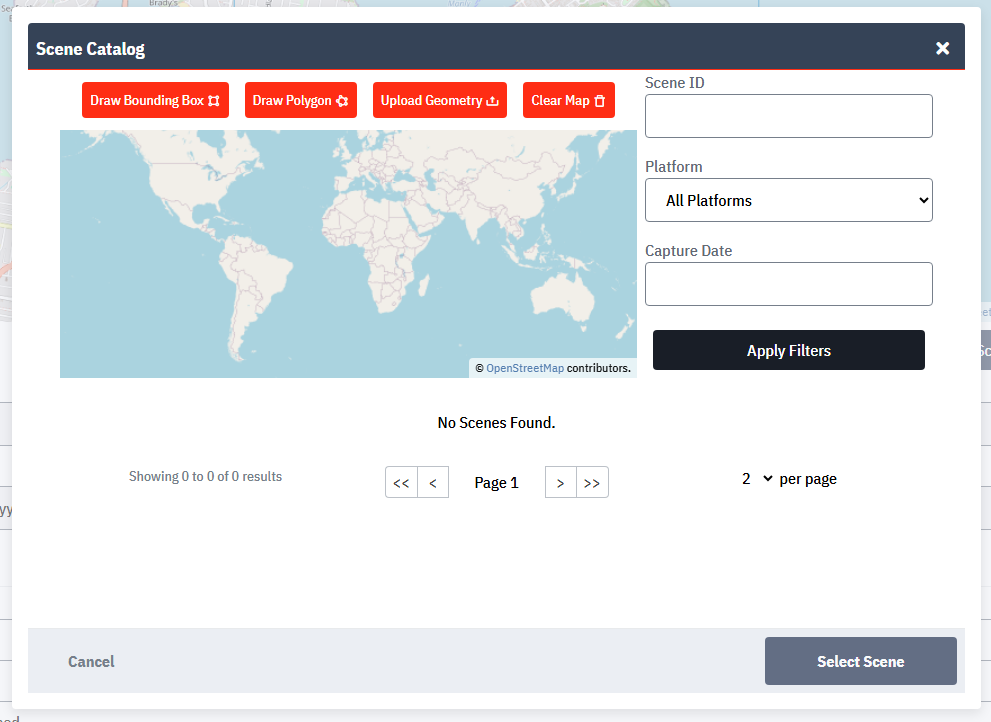
Specify the source scene the data originates from, and its capture date.
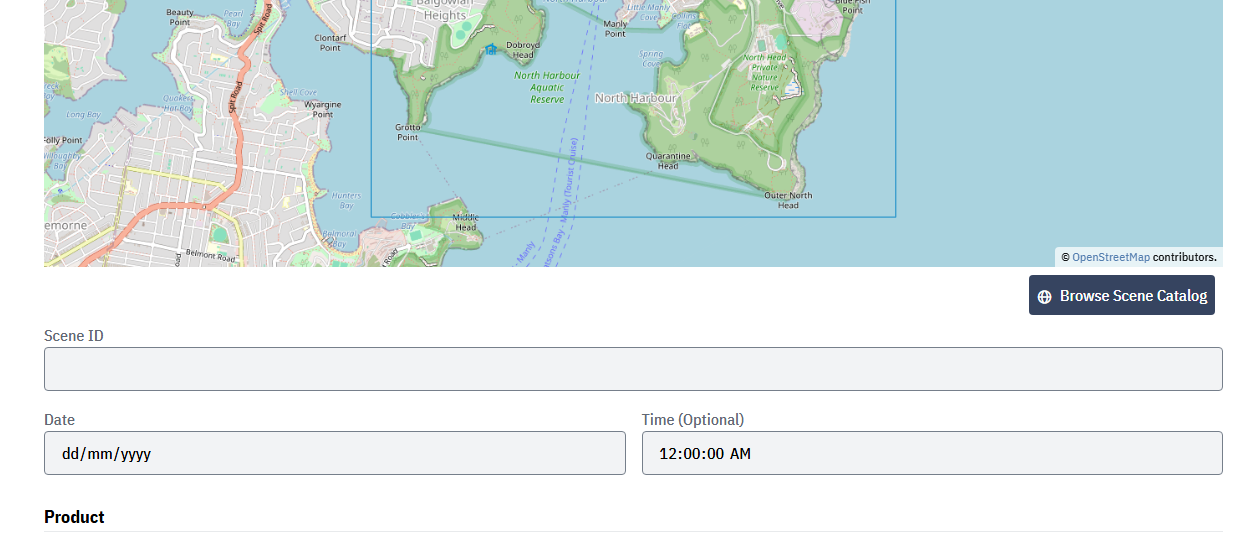
Note
Depending on your platform configuration and if you are using an internal or external archive, you may be able to browse your archive from the search geometry to more easily find the scene ID and automatically populate the capture date of that scene.
Select the pricing details for the order such as the product level and
- options can be selected from those visible on the platform, as well as any custom order only options specified in your platform
- if enabled for your platform, custom options can be added for a given order
- based on the specification, the total price will be calculated
Optionally, specify an expiration for this dataset, after which the customer will not be able to access the file resources
Warning
We recommend always setting a sensible expiration for delivered data so that storage may be cleared to avoid escalating storage costs from delivered customer data.
- Specify any tax amount or discounts that apply to this order to adjust the billing total
- Select Create Dataset
The Custom Order now contains the new archive dataset.
Additional archive datasets or tasking campaigns can be added to build out the quote proposal/custom order as needed following the steps above before requesting customer approval.
Add Custom Line Items to the Custom Order
Where an order has items beyond delivery of archive or tasked data, custom line items provide a way to represent unusual or out of sequence processes and offerings, or custom works such as reports and analysis that make up part of a quote/proposal.
To add a Custom Line Item from the order details page.
- Check the order is in edit mode. If you see Edit Order in the top right, click that
- Select Add Custom Item
- A new section will appear where a Name, Description and pricing information can be entered.
- If items need to be broken into groups, nested sub items can be added (with the same structure as before), to allow for logical groupings of custom items in an order.
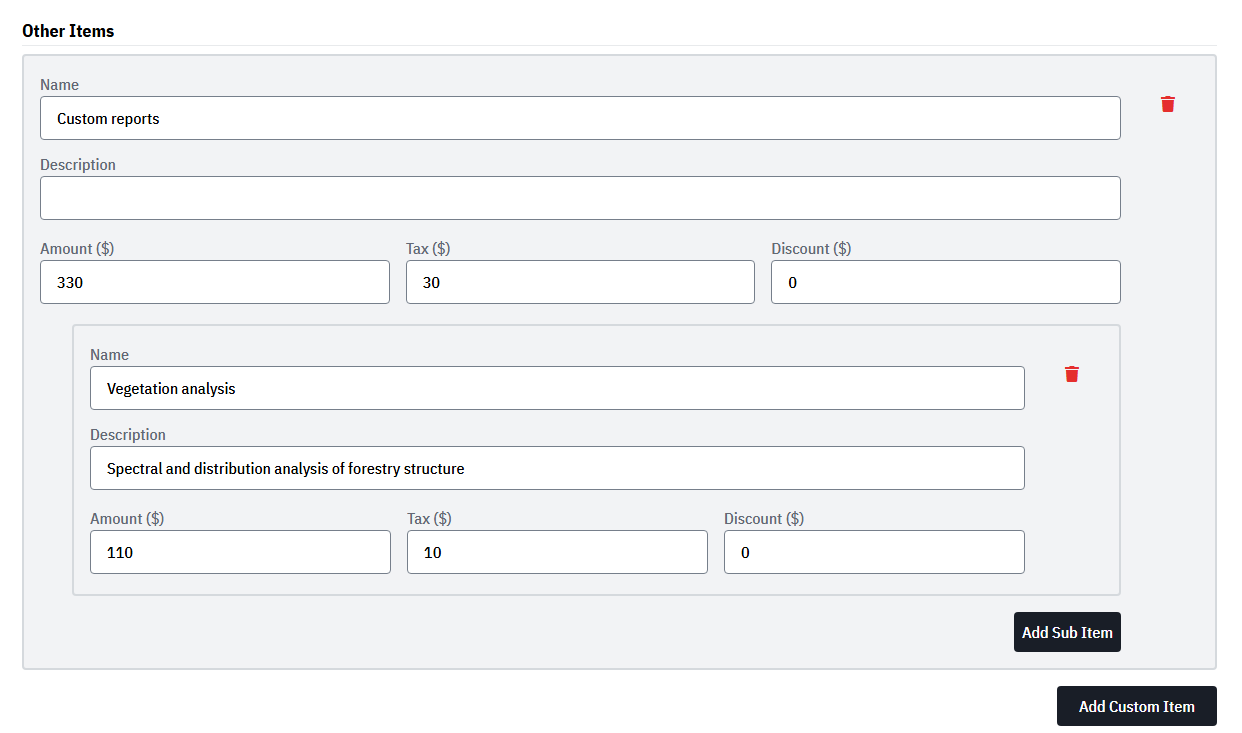
- When done, ensure that the Save button at the bottom of the page is clicked to persist your additions.
Request Customer Approval
To request customer approval and obtain their consent for the order (and their acceptance of the associated data licenses).
From the order details page:
Review the details of the order to make sure the proposal is complete and ready for the customer.
To dispatch immediately, click Request Client Approval at the bottom of the page, but to preview what they’ll see, instead click Preview Customer Approval at the top of the page.
If reviewing you’ll have an opportunity to review what the customer will see from the proposal and if ready to proceed may click Send to Customer at the bottom of the page,
Enter a message the customer will see at the top of the proposal (context is important — clear, descriptive wording is recommended)
Select Send to Customer, this sends an email to the customer about the proposal, and a link to review the details (it will also appear in their dashboard, and as an action item on their home page within the platform).
What the customer sees
Customers follow a simplified flow:
They’ll arrive at the proposal by any of:
- Receive the proposal email and click the provided link
- See the proposal as an action item on their home page and click it
- See the dashboard notification in the top right of the screen and click it
They can review the proposal details such as AOI, scene details and pricing information (line items are clickable for more information)
If they are happy to accept the proposal, they can adjust the billing method as needed and click Accept
If there are any issues with the proposal, or it is no longer required, they can click Request Changes or Reject and provide a short message explaining the required changes or why it was rejected, and the responsible administrators will be notified.
Troubleshooting for Custom Orders
Causes
- Order has no line items (tasking campaigns, archive datasets or custom line items)
- Order already sent for approval
- Customer has deleted their account
Fixes
- Add order line items
- Wait for customer response or withdraw the offer
- Contact the client, and re-assign the order to a different account
Causes
- Wrong login/account or missing permissions
- Offer was withdrawn
- Customer has no billing method
Fixes
- Confirm correct user identity and team assignment, ensure they are logged in with that account
- Resend the proposal
- Customer to create billing method (see user guides)
Causes
- Capture window has ended
- Campaign not in an active status
Fixes
- Update campaign to extend capture window (after confirming with customer), or create a new campaign
- Confirm this is the campaign to be scheduled (i.e. customer has not cancelled the campaign), and update its status to pending or similar active status.
If you are experiencing further issues not covered in this section, please contact support.