Control and manage the pricing seen and exposed to customers on orders and how they pay for it.
Table of Contents
There are 3 main ways to control the pricing seen by your customers, and the amount they are billed:
- Loading credit accounts so payments draw down on an agreed balance
- Specifying pricing matrices and tiers that affect the pricing options presented
- Issuing discount codes and coupons
Credit accounts and credit balance
Credit balances are an excellent way to manage customer payments.
When a billing account has a credit balance associated with it, that balance will be consumed as the preferred method of payment.
This provides a method for ensuring credit usage, and if the billing doesn’t otherwise have a valid payment method, can ensure payments don’t exceed the available line of credit.
Setting up customer billing accounts
If a customer has not processed any transactions on the platform, they can create their own billing accounts through the user dashboard from Account Settings > Billing in the dashboard.
However, if you need to create one for a customer, this can be done from the administration dashboard.
To create a new billing account, navigate on the sidebar to Billing & Discounts > Customer Accounts.
Here you will find a list of all accounts that have been set up on the platform by customers and administrators.
Clicking the “+ New Account” button in the top right of the screen, a new account can be created.
Provide the details for the account, including:
- Customer the account is for
- Name and contact details
Then, once “Create Account” is clicked, a new billing account with no payment method will be created for the customer you specified, and credit balance can be added.
Setting customer credit balance
To set a credit balance for customers, navigate on the sidebar to Billing & Discounts > Customer Accounts.
Here you will find a list of all accounts that have been set up by customers on the platform, open the “filter” menu at the top to search for the customer you’re trying to find.
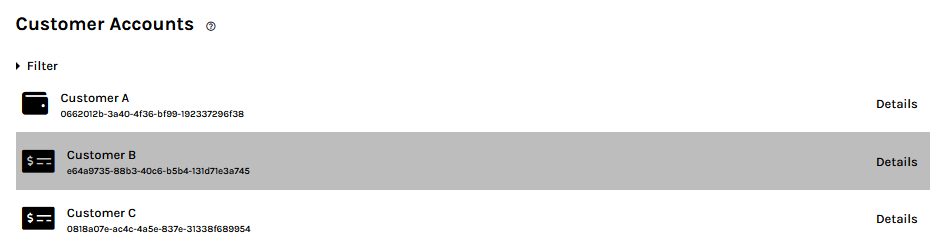
By clicking on the “Details” button on the right for a given account, the admin will be able to view the following details associated with the account:
- Name and contact information of the customer
- Billing address
- Payment methods (if available)
Within the payment methods section the account’s current balance is available as well as the “Update Balance” button that allows an admin to specify the amount of credit associated with the customer’s account.
Clicking on this button will open a prompt where the credit balance can be specified. Once it has been entered, click “Update Balance” to set this amount.
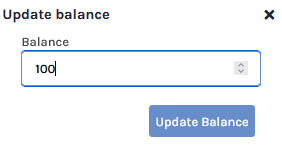
Once this is done, the page will reload and display the new credit balance assigned to the account.

The customer will then be able to make purchases using the associated credit.
If a customer’s purchase exceeds the amount in their account’s balance, the order will only continue if there is a payment card attached to the account, where the remainder of the order price will be charged.
Setting & Updating Customer assigned pricing matrix
There are two ways to assign pricing groups to customers.
The first way is to directly assign a pricing group to a specific customer’s account.
The second way is to assign a pricing group to an organisation or team, this will then apply the pricing group to all users that are part of the organisation or team.
Note
This option assumes pricing matrices have been created using the payGrou: and role: constraint tag behaviors.
If this has not been done the options for setting price groups will be empty.
If this has not been done and you wish to use this feature, please configure the platform before proceeding further.
Assigning a Pricing Group to a Specific Customer
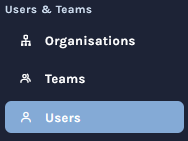
On the sidebar, navigate to Users & Teams > Users.
This will show a list of all users that are registered to the platform or have invitations pending to be registered.
Note
If your platform is set up to require Restricted Party Screening (RPS) for new customers, users may have a “Requires Screening” badge next to their name if they have not yet been screened.
- Click on “View” for a user to open their account details.
- On the top right of the menu, click on the ⋮ icon.
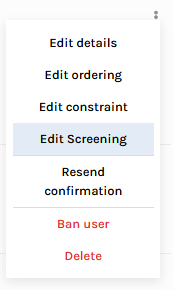
- This will present a list of buttons, click on “Edit Pricing”.
Warning
If RPS is enabled for the platform and this user has not been screened, click the large “Screen User” button instead, to ensure the user is set up correctly.
- This will open a menu where there is a dropdown for “Price Group” which will allow selecting the users pricing group (only one pricing group can be specified).
- Similarly if any “Roles” have been specified in the pricing matrix, they will be available here such that users can be assigned that role (zero orr more roles can be specified).
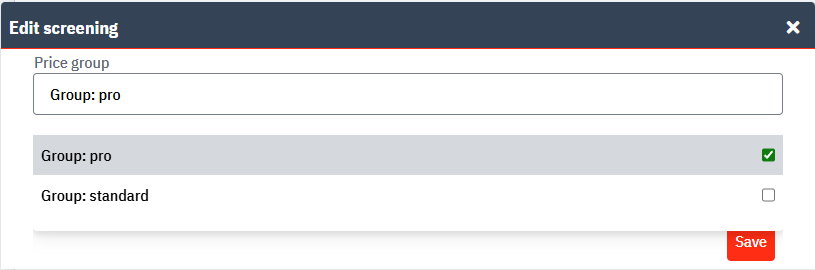
- Select the price group (and optional roles) to be assigned to the user.
- Confirm changes by clicking “Save”.
Assigning a Pricing Group to an Organisation or Team
Assigning a pricing group to an organisation or team will apply that pricing behavior to everyone in that organisation or team.
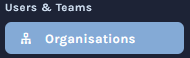
On the sidebar, navigate to Users & Teams > Organisations or Teams (as appropriate)
This will show a list of organisations (or teams) that have been created on the platform.
- Select “View” on the organisation whose price group you are going to configure.
- On the top right of the menu, click on the ⋮ icon
- This will present a list of buttons, click on “Edit Pricing”
- This will open a menu where there is a dropdown for “Price Group” or “Roles” much as for an individual user.
- Select the price group to be assigned to the organisation.
- Confirm changes by clicking “Save”.
Creating discounts and coupons
Discount templates are re-usable entities that define a type of discount.
They are the template from which coupons are created and define the type of discount and rules that apply to its use.
These templates are used to generate discount coupons which can either be assigned to a customer to be automatically (e.g. reseller discounts) applied or be distributed to users as a code that can be entered during checkout to have the associated discount applied to the order (e.g. onboarding discounts, promotional discounts, etc).
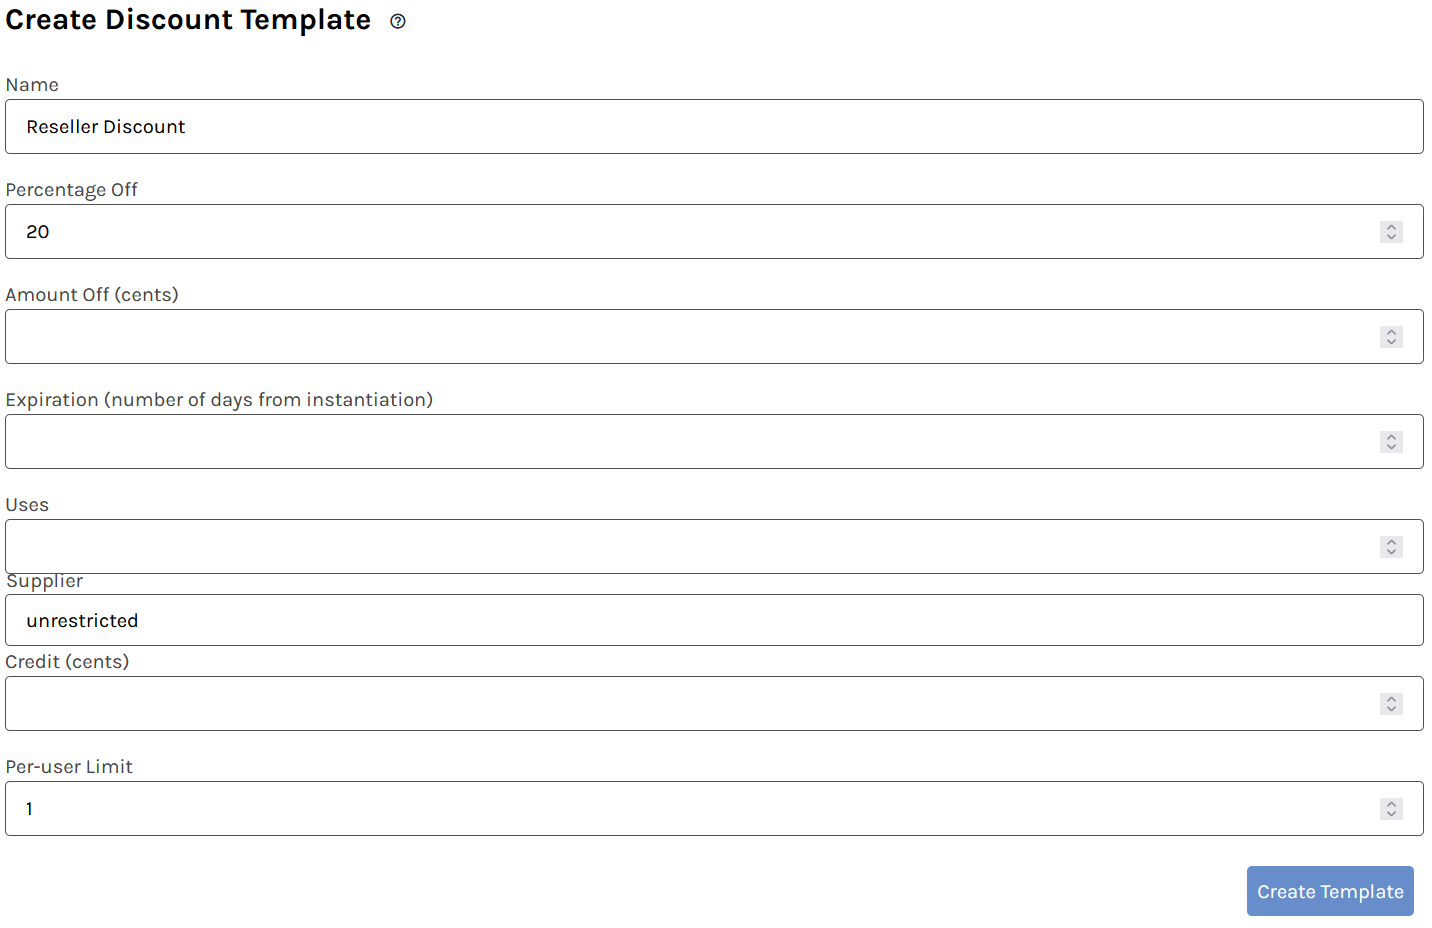
Creating the Discount Template
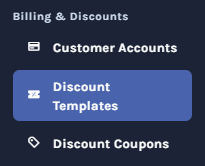
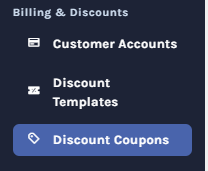
- Navigate on the sidebar to Billing & Discounts > Discount Templates.
- Click on “Create Template”.
- Provide a name to this template that is meaningful to your team (e.g. “Reseller Discount”), this will not be visible to customers.
- Specify the discount you with to grant using the Percentage off field and Amount off field (note amounts are to be specified in the base unit for the currency, such as cents, or individual yen)
- Specify the rules you wish to apply to the coupons validity (see the table below)
- Click “Create Template” once all relevant fields have been entered.
Upon creating the template, the page will reload and will present the list of Discount Templates that have been configured for the platform, the newly created discount will appear at the top of the list.

Discount Validity rules
There are a variety of rules you can apply to discount validity to constrain the behavior as needed to build your discount.
Each field is explained independently here
| Field | Description |
|---|---|
| Expiration | How many days after creating a coupon from this template should it expire |
| Uses | How many times may a coupon made from this template be used |
| Supplier | Which supplier(s) is this template valid to discount |
| Credit | What is the total balance of this coupon (i.e. shared balance cross all users) |
| Per-user Limit | How many times may any individual user use this coupon |
These validity rules can be combined to create more detailed behaviors, examples of several common cases are available below to help illustrate this.
Applying the Discount
To utilise the discount we need to create a coupon from it. This coupon will be an instance of the discount template and be subject to any expiration time limits or similar defined in the template, allowing you to create multiple coupons from the same template over time.
- Navigate to Billing & Discounts > Discount Coupons
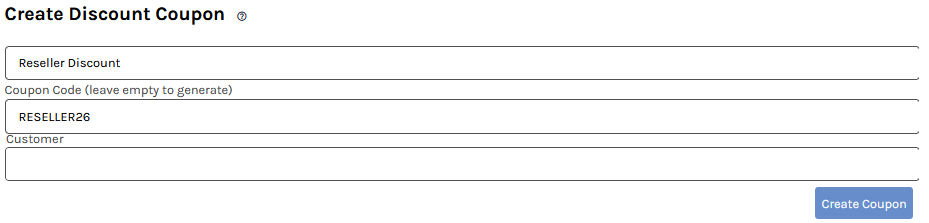
Click on “Create Coupon”
The first drop down menu will prompt you to select a Discount Template, select the discount you wish to provide.
There are two ways to set up your coupon from here
- For a coupon code you can give a user or use in a promotion, you can specify a “coupon code” (up to 16 characters) to suit your promotion, or leave the field blank for a random code to be generated.
- For an automatic discount applied to a user, click into the “customer” field and search for the user you wish to have this discount automatically applied for
Click on “Create Coupon” to finalize the creation
Your coupon will now be visible at the top of the discount coupons list, and will be applied automatically to the user specified, or the coupon key (left column) can be copied and provided to a user for use.
Common discount and coupon code setups
There are a variety of common ways to set up coupon codes to handle different types of promotions and scenarios, this section outlines several common scenarios and how to create the appropriate discount coupon
Reseller discounts
If your reseller discounts are consistent for all resellers, we’d recommend instead incorporating this into your pricing matrix as a role, otherwise this can be achieve with discounts and coupons.
For this example resellers receive a 20% discount to order pricing.
Create a discount template with the following details
| Field | Value |
|---|---|
| Name | Reseller 20% discount |
| Percentage Off | 20 |
Idea
If your platform has multiple suppliers set up, ensure you restrict resellers to those platforms they are authorized to resell for.
Next when creating the coupon, ensure it is attached to the resellers account, then the pricing will be applied to their pricing directly and automatically.
“$20 off, for the next 7 days” coupon
To make a coupon that will expire in 7 days once created, specify the following when creating the discount template.
| Field | Value |
|---|---|
| Amount Off | 2000 |
| Expiration | 7 |
| Per-user Limit | 1 |
Now each time a coupon is created from this template it will be available for use in a promotion for 7 days after its creation.
“15% off for the first 50 Uses” coupon
To create a promotional coupon that can be used by the “first 50 people” to use it, while staying fair by limiting each user to using it once we can specify the following rules:
| Field | Value |
|---|---|
| Percentage Off | 15 |
| Uses | 50 |
| Per-user Limit | 1 |
This will let the coupon only be used once by each user, but 50 times across all users.
“A shared pool of $5000” coupon
For some events (i.e. hackathons) a shared pool other than through a shared billing account balance can be useful, allowing anyone with the coupon code to draw down on a credit balance.
The downside to this is that end users cannot easily see the remaining balance on the coupon, so this approach is usually not the recommended method.
| Field | Value |
|---|---|
| Name | Hackathon 2025 balance |
| Credit | 500000 |